Woodwork: sides and bottom

Last weekend I had a go at making the sides and the bottom of the wooden base. I think the pictures below speak for themselves.

Topview without top
Topview without top

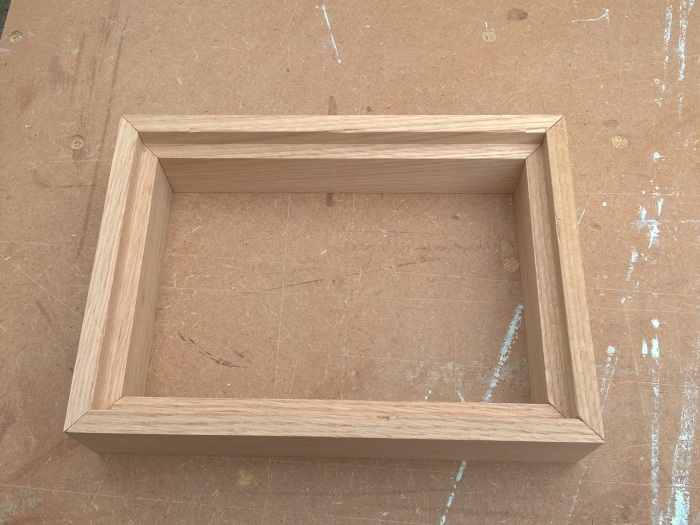
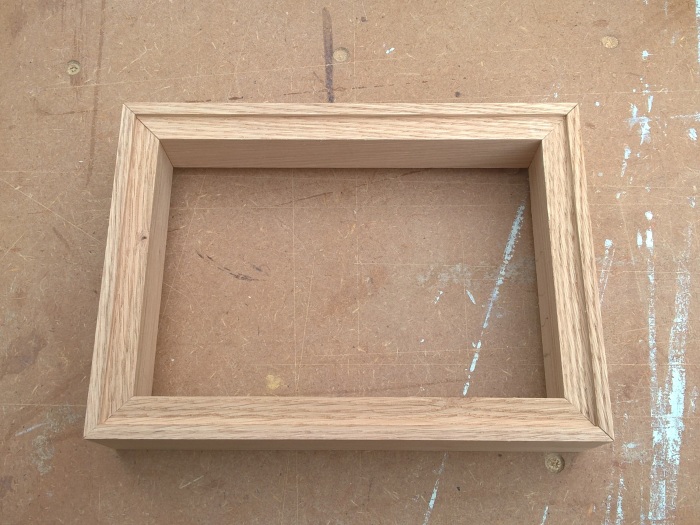
I first made the sides using a mitre joint. I put a recess all around so the top would fit nicely.

Bottom view
Bottom view

In this picture the sides are put on the top to see if it would fit. The bottom of the sides are not recessed yet.

Casing with switch and hub for scale

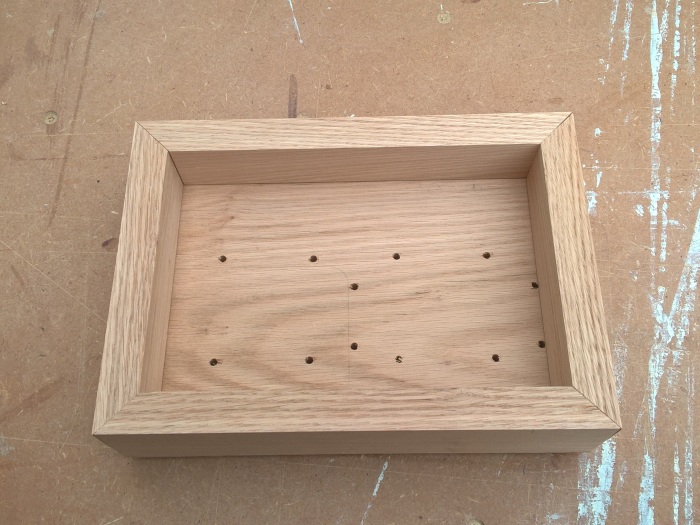
It will all fit snugly. I will cut some holes in the rear side for ventilation as well as some vent holes in the bottom.

First impression of half finished casing
Bottomview with recess milled for bottom plate
Bottom plate in place

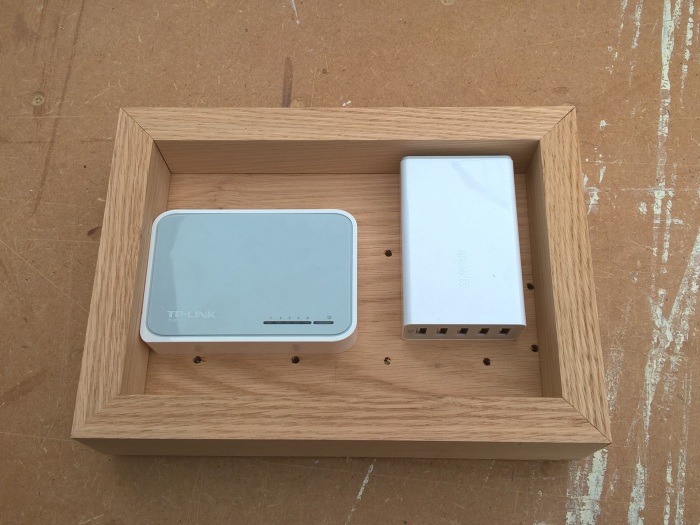
The bottom plate is a 4 mm plate of MDF so there is maximum space for the internals.

After this I started making the hole in the front side for the display… but not for long as just at this moment my milling machine died on me… 😦 Well after 18 years of use this is no shame but it did mean I had to go and find a new one. I soon found out that the general design for milling machines changed considerably over the last 18 years… A modern one would definitely NOT fit in the milling table I made a few years back..

So I looked at Marktplaats (a large online selling site in Holland) and happened to find  a guy that was offering the exact same model as my old machine new in a box! He once bought it as a spare himself but never actually used it.. It should arrive shortly and I cannot wait to proceed with the project!

In the meantime I had a go at writing/modifying the Python code to drive my display..


Woodwork: top plate

After making the pillars I started on the top of the wooden casing. I cut off a piece of the oak measuring 23,2 x 16,9 cm that is going to be the top of the base.

A nice piece of oak
A nice piece of oak

After some carefull measuring I drilled all holes for the pillars as well as for the USB and network cables. After that I bevelled the edges.

First fitting
First fitting

After that I did a first fitting. The PI’s are not entirely straight here as the pillars are only just pressed in the holes. In the end the pillars will be recessed in the holes for about 1 cm but I did not want to do that now as it is pretty hard to get them out again… And I would like to paint the wooden base before assembly.

So, on to the rest of the base… And to making the difficult choice on the color of the base..

The design

First thing of course was deciding on a design…: would I make a stack of 4 Pi’s, two stacks of two sitting side by side or 4 Pi’s side by side… After some thinking I decided to stick with my original idea of the 2 x 2. The pile of 4 seems a bit unstable and the 4 in a row would take too much space at my desk.

The base of my cluster was going to be made of wood and would have to have enough space to accommodate the hub, switch and all cables.

I also decided to fit a 16×2 3V3 LCD Display somewhere in the cluster to show the IP or something. Just like in the Makezine manual.

With that out of the way I started working on the Pibow casings. More on that in a future post.

A trip to the DIY store

After the unboxing I had a very good look at all the parts. I also assembled one of the Pibow cases and fiddled around a bit with the cables. Then it was time to visit the local DIY store to find the parts for the base of the cluster.

I intend to make the cluster as tidy as possible, with as less cables visible as possible. Most clusters you find online have lots of cable poking out and that just does not look nice. I also wanted to make a base that hides the switch and hub completely. As I have pretty decent woodworking skills (see this image of a turntable I recently made a new base for) I wanted to work with wood again. But finding a nice pice of wood is hard in the Dutch DIY stores. Most of the wood is plain soft timber wood, hard wood is difficult to find. But in the third DIY store I found a nice piece of oak that will be perfect for the clusters base (and about 10 more I guess, as it was 2,5 metres long…).

I also bought some extra RJ-45 plugs and some aluminium pipe to make the stays for the Pi’s as well as some other small stuff.

Now I have all the parts to finally get to work!